
Published by Vareta Tile
When it comes to professional tile installation, back buttering tile is one of the most important techniques for ensuring long-lasting results. While many DIYers skip this step, professional tile setters rely on it to improve adhesion, eliminate hollow spots, and meet industry standards.
In this guide, you’ll learn exactly what back buttering tile is, when it’s required, and how to do it properly to avoid costly failures.
What Is Back Buttering Tile?
Back buttering tile is the process of applying a thin layer of thinset mortar directly to the back of a tile before installing it onto a surface that already has mortar applied.
This technique ensures maximum contact between the tile and the substrate, creating a stronger bond and more consistent coverage.
Why Back Buttering Tile Is Important
Improves Tile Adhesion
Back buttering helps thinset fully bond with dense tile materials like porcelain and natural stone.
Prevents Hollow Spots
Air pockets under tile can cause cracking or loosening over time. Back buttering minimizes this risk.
Reduces Lippage
By filling low spots and improving coverage, tiles sit flatter and more evenly.
Meets Industry Standards
Tile industry guidelines recommend 95% mortar coverage in wet areas—and back buttering helps achieve that.

When Should You Back Butter Tile?
You should always back butter tile when installing:
- Large-format tile (15 inches or larger)
- Porcelain tile
- Natural stone
- Textured or ribbed-back tiles
- Tile in bathrooms, showers, and wet areas
While small ceramic tiles don’t always require it, back buttering still improves overall bond strength.
How to Back Butter Tile (Step-by-Step)
Step 1: Mix the Thinset Properly
Follow manufacturer instructions. The mortar should be smooth and workable—not runny.
Step 2: Apply Thinset to the Substrate
Use a notched trowel to spread thinset evenly on the wall or floor.
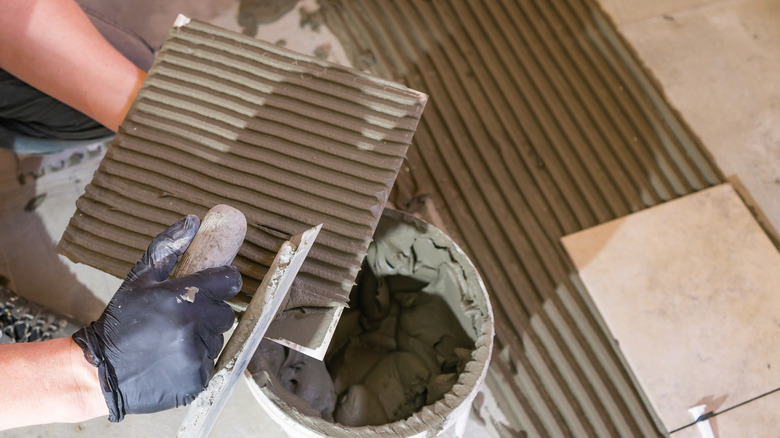
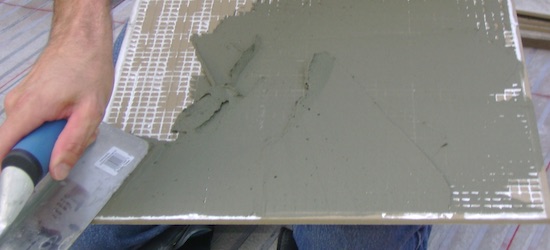
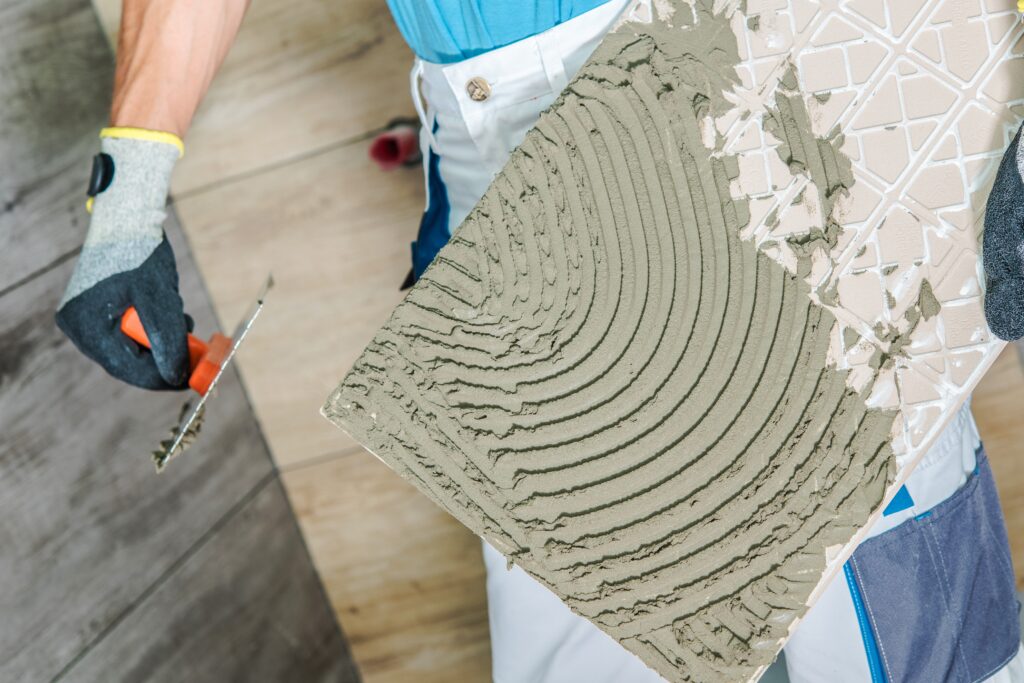
Step 3: Back Butter the Tile
Using the flat side of your trowel, apply a thin, smooth layer of thinset to the back of the tile. Fill all grooves.
Step 4: Set the Tile
Press the tile firmly into place and slide slightly to collapse the ridges.
Step 5: Check Coverage
Lift a tile occasionally to confirm proper coverage—especially in wet areas.
Common Back Buttering Tile Mistakes to Avoid
- Using too much thinset
- Skipping coverage checks
- Not cleaning dust off tile backs
- Using mastic instead of thinset
- Installing tile after thinset has skinned over
Avoiding these mistakes will dramatically improve installation quality and longevity.
Back Buttering Tile FAQs
Is back buttering tile required?
It’s strongly recommended for large-format, porcelain, and stone tile, and required to meet coverage standards in wet areas.
Do you back butter porcelain tile?
Yes. Porcelain tile is dense and benefits greatly from back buttering.
Does back buttering prevent tile failure?
Yes. It reduces hollow spots, cracking, and bond failure.
Can back buttering fix uneven floors?
It helps compensate for minor imperfections but is not a substitute for proper surface preparation.
Final Thoughts
Back buttering tile is a simple step that makes a major difference. Whether you’re a homeowner or professional installer, this technique ensures stronger adhesion, flatter tiles, and a longer-lasting installation.
If you’re planning a tile project and want it done right the first time, never skip back buttering tile.
Comments are closed